Industry Information
Matching Inspection Rate to Your Line Speed
Pieces per minute on a spec sheet are ranges with conditions - how to calculate the inspection rate your line actually needs, and where your real number comes from.
The Rate Question Behind Every Quote
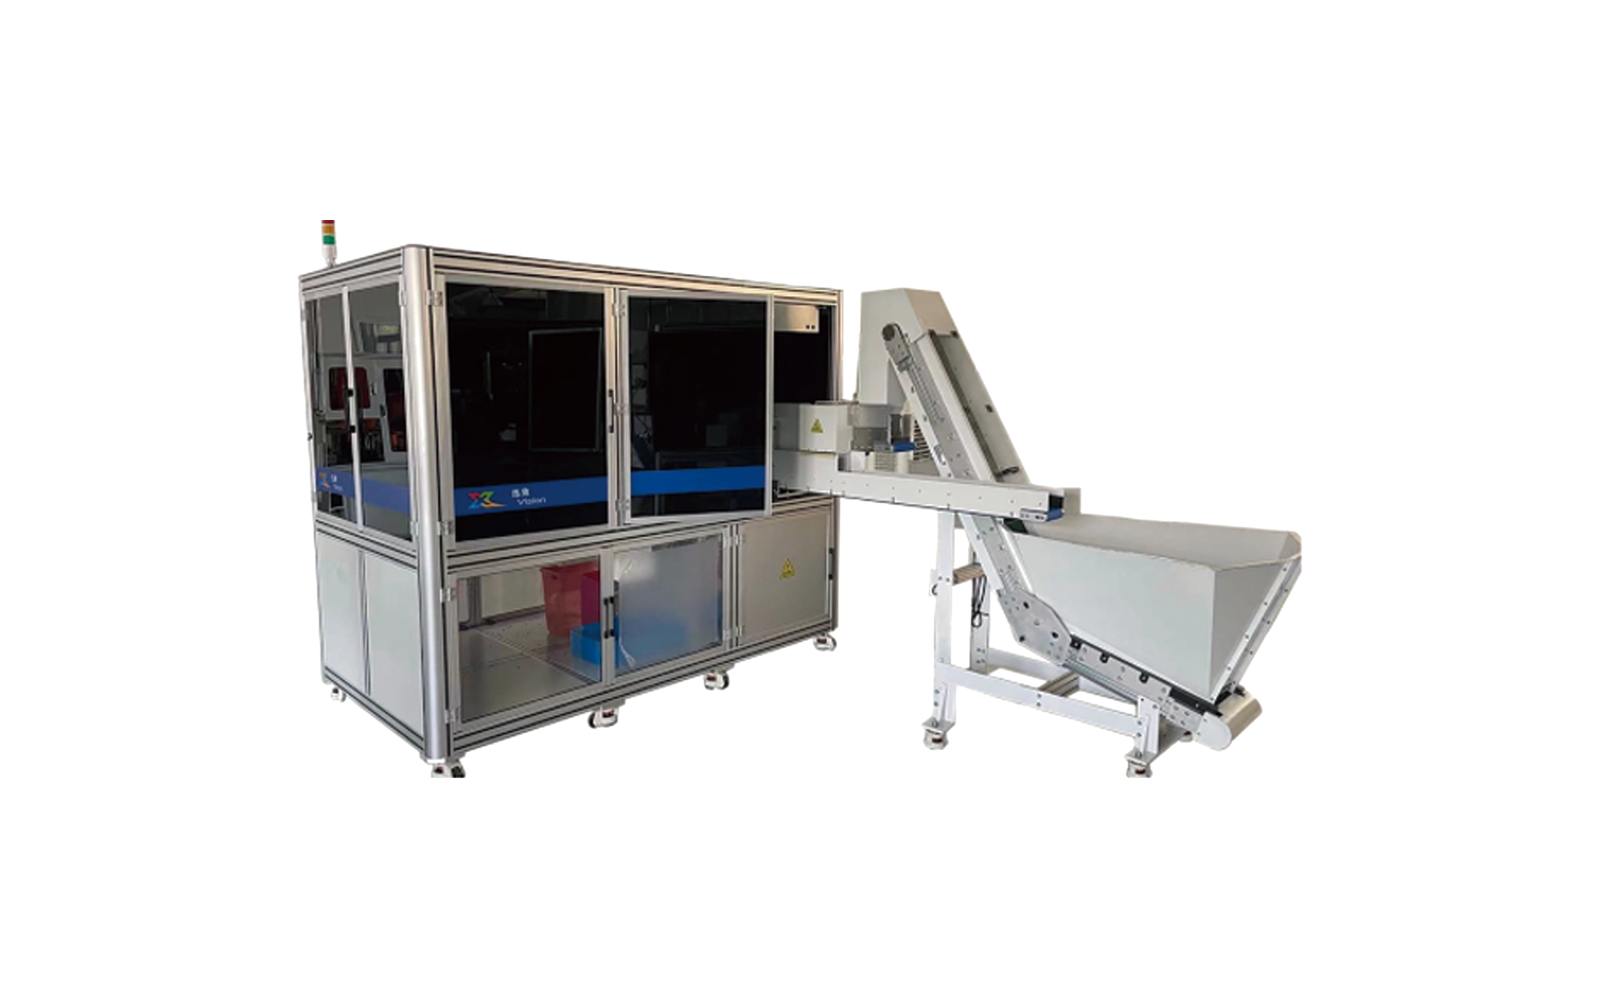
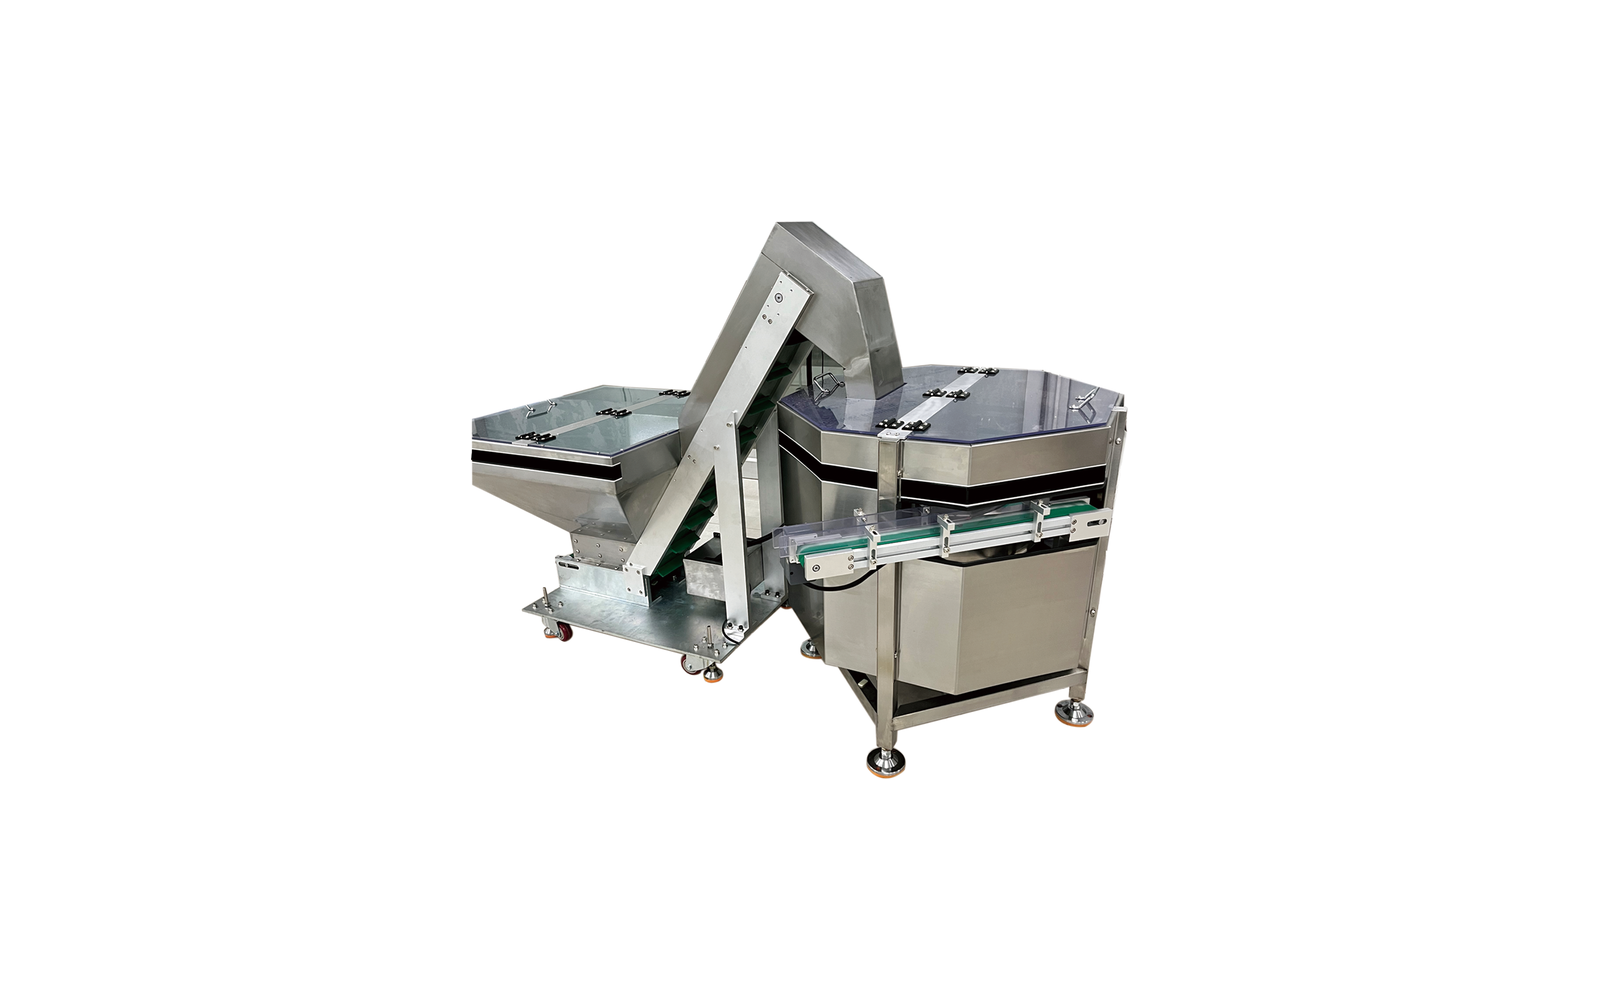
"So what rate does it run?" is usually the first question after size - and the easiest line to misread on the spec sheet. Every rate on a vision inspection machine is a range with conditions: in the Shengyi New Material (Huzhou) Co., Ltd. brochure, the standard single-table model runs 120-840 pcs/min depending on product size, actual feeding and/or number of cameras; the dual-table seal machine prints 80-840 pcs/min with part size and camera-count conditions; the double-layer flat-parts machine runs 500-2000 pcs/min under the same style of conditions; and the extrusion (compression) and tensile machines print lower figures with their own. The top of any range is a configuration outcome - not the number your line will run. This article walks through the rate-planning steps: calculate the rate you actually need, read the printed conditions correctly, and confirm the real number on your parts.
Step 1: Calculate the Inspection Rate Your Line Needs
Work from your production numbers, not the machine's top speed:
• Daily volume: parts per shift and per day, divided by working minutes - that is your average pcs/min requirement.
• Peak requirement: if molding output arrives in batches, the inspection station sees peaks, and the peak - not the average - is what the station must absorb.
• Buffer reality: upstream holding between the press and inspection can absorb peaks; without a buffer, the inspection rate must meet the peak. A worked example of the arithmetic (your numbers, not a claim): if a 200-piece batch arrives every 5 minutes, the station must sustain 200 / 5 = 40 pcs/min until the batch clears - the burst rate, not the average, sizes the station.
A worked example of the arithmetic (your numbers, not a claim): a line molding 20,000 parts across two 400-minute shifts runs a 25 pcs/min average - and if those parts arrive at the station in 200-piece batches, the station must absorb peaks above that average or a buffer must sit between molding and inspection. Write down two numbers: required average pcs/min and required peak pcs/min at your part size. Everything after this is measured against them.
Step 2: Read the Throughput Ranges with Their Conditions
The brochure's figures carry their conditions - and the conditions are what make them comparable:
• Standard single-table model: 120-840 pcs/min, depending on product size, actual feeding and/or number of cameras; the dual-table seal machine prints 80-840 pcs/min with part size and camera-count conditions.
• Double-layer flat-parts machine: 500-2000 pcs/min, depending on part size, actual feeding and camera count.
• Compression machine: 20-100 pcs/min, depending on product size.
• Tensile ring machines: 4-6 pcs/min with automatic feeding, varying with circumference and shot count.
The conditions tell you which levers move the number: smaller parts, more cameras and automatic feeding push toward the top of each range. When comparing suppliers, compare the conditions too - a range without its conditions is not comparable, as covered in how to read a vision inspection machine specification sheet (/posts/vision-inspection-specification-sheet-guide).
Step 3: Where Your Real Rate Comes From
The confirmed rate is measured on your parts during the sample test (/posts/vision-inspection-sample-test), at your part size with the configured camera count and feeding. That confirmed number is what you plan the station around. Two follow-on points from the same logic: if the confirmed rate at the base configuration misses your target, camera count is one of the levers (the trade-offs are in how many cameras your vision inspection machine needs (/posts/vision-inspection-machine-camera-count)); and the rate is only half of the output question - the other half is what the machine rejects.
The Rate Is Only Half: Effective Output
A machine running 400 pcs/min that passes defective parts, or rejects good ones, does not deliver 400 good pcs/min. Effective output is the configured rate adjusted by how well the defect rules sort good parts from bad - and by the station's uptime. That is why the defect list and acceptance thresholds are defined before the rate is confirmed, as covered in how to define OK/NG defect criteria (/posts/defining-defects-ai-visual-inspection). False-reject handling is also part of the configuration discussion: how NG separations are verified is a question to ask alongside the rate, because a machine that stops good parts costs output just as a machine that passes bad ones costs claims.
Frequently Asked Questions
What rate do I actually need for my line?
Daily parts divided by working minutes gives your average; molding peaks give your design target. Calculate the peak, confirm it on your samples, and compare it against the configured machine's confirmed rate - not against a brochure top figure.
Why do the brochure ranges vary so much?
Because the printed conditions vary the number: product size, camera count and feeding method all move the rate. The ranges are honest; the top figures assume the best-case combination.
Can the confirmed rate be raised later?
Camera count and feeding are configuration levers; what can be adjusted after installation is an engineering question to raise during configuration - not a brochure line.
How does the feeding method change the rate?
"Actual feeding" appears in the brochure's conditions because the feeder is part of the rate: bulk methods and individual handling deliver parts to the station differently. Which feeding suits your parts is covered in choosing the feeder (/posts/vision-inspection-machine-feeder-types).
How fast do vision inspection machines run?
Per the brochure: the standard single-table model 120-840 pcs/min, the dual-table seal machine 80-840 pcs/min, the double-layer flat-parts machine 500-2000 pcs/min - each under its printed conditions of product size, feeding and camera count.
What if one machine cannot reach my required rate?
That is a configuration and selection question - a larger model in the line, adjusted feeding or more cameras are the levers discussed during configuration; whether one station suffices is settled on your sample run.
Does a higher rate mean more defects escaped?
They are verified separately: the machine enforces the defect rules you define at whatever rate is configured, and how detection behaves at that rate is demonstrated on your samples. This site does not publish rate-versus-detection trade-off figures.
Next Step
Calculate your required rate at your part size, then send your parts with that target and the defect list. The sample run returns the confirmed rate and the reject behavior on your parts - the two numbers your planning actually needs - along with the inspection images and the decision log. Sample quantity, logistics and terms are confirmed when you inquire. Contact the team (/contact-us) - Monica (+86 138 5726 5705) or Arya (+86 173 2430 9735), or email monica@aivisioncheck.com.