Industry Information
Vision Inspection Sample Test: How the Machine Is Proven
The sample test is how a vision inspection machine gets proven - what to send, what runs on your parts, and what you get back.
Why Every Conversation Ends at the Same Place
Across this site - the machine guides, the cost factors, the camera count logic - one step keeps recurring: the sample test. That is not a sales convention; it is where every honest answer lives. Repeatability figures describe the machine, throughput ranges carry conditions, and detection on your specific defects cannot be known until your parts run through the machine. The sample test is how "trust me" becomes "here are the images and the decision log from your own parts". This article walks through the whole procedure: what to prepare, what happens during the run, what you receive, and what to decide with it.
Before the Sample Test: What to Send
The sample test returns answers proportional to what goes in. The published process asks for samples of good parts and the defects you must catch - and experience across part families adds three refinements:
• Good, bad and borderline: good parts define acceptance, defective parts define detection, and borderline parts define where your thresholds actually sit. If your defect list is unwritten yet, how to define OK/NG defect criteria (/posts/defining-defects-ai-visual-inspection) is the starting point.
• The worst cases, not the average ones: the oiliest metal part, the most textured plastic, the part from the suspect cavity. Reflective finishes, low-contrast flow marks and thin walls behave worst-case-driven, as covered for shiny parts in inspecting reflective machined parts (/posts/inspecting-reflective-machined-parts).
• Marked examples: a physical or photographic example per defect type, so the configured detection can be checked defect by defect.
The commercial wrapper - quantity, logistics, fees and sample return - is confirmed when you inquire, and we confirm it in writing in our first reply, before anything ships. Confidentiality requirements are handled separately: state them in your first message and they are addressed before your parts move.
During the Sample Test: What Runs on the Machine
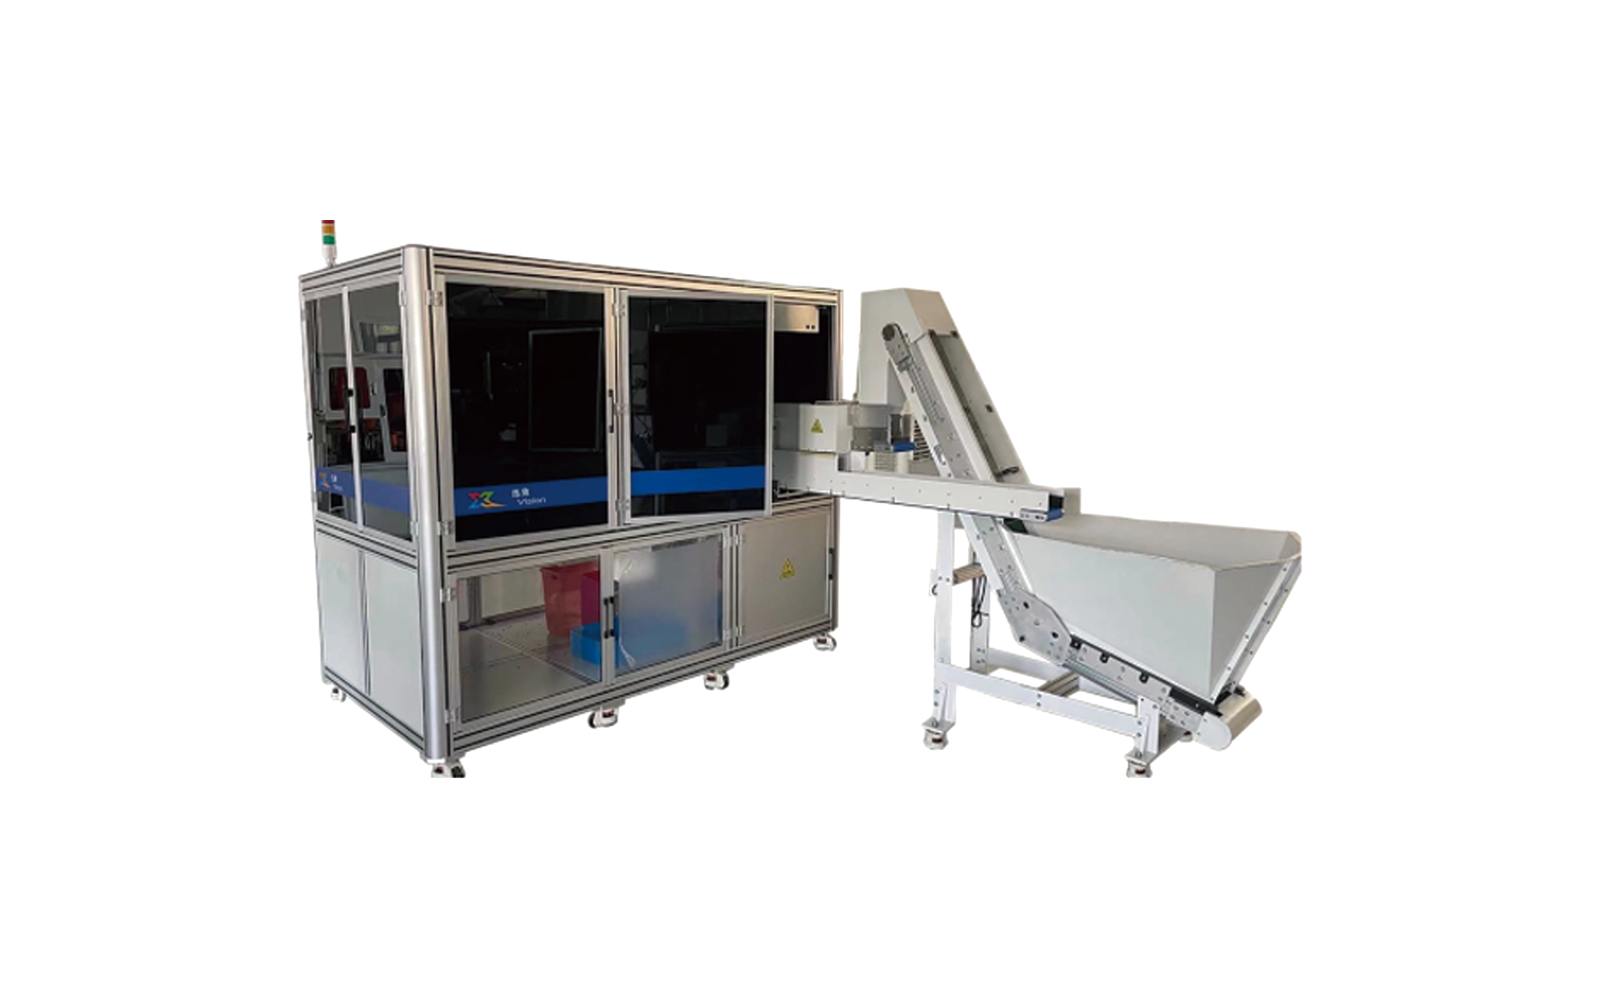
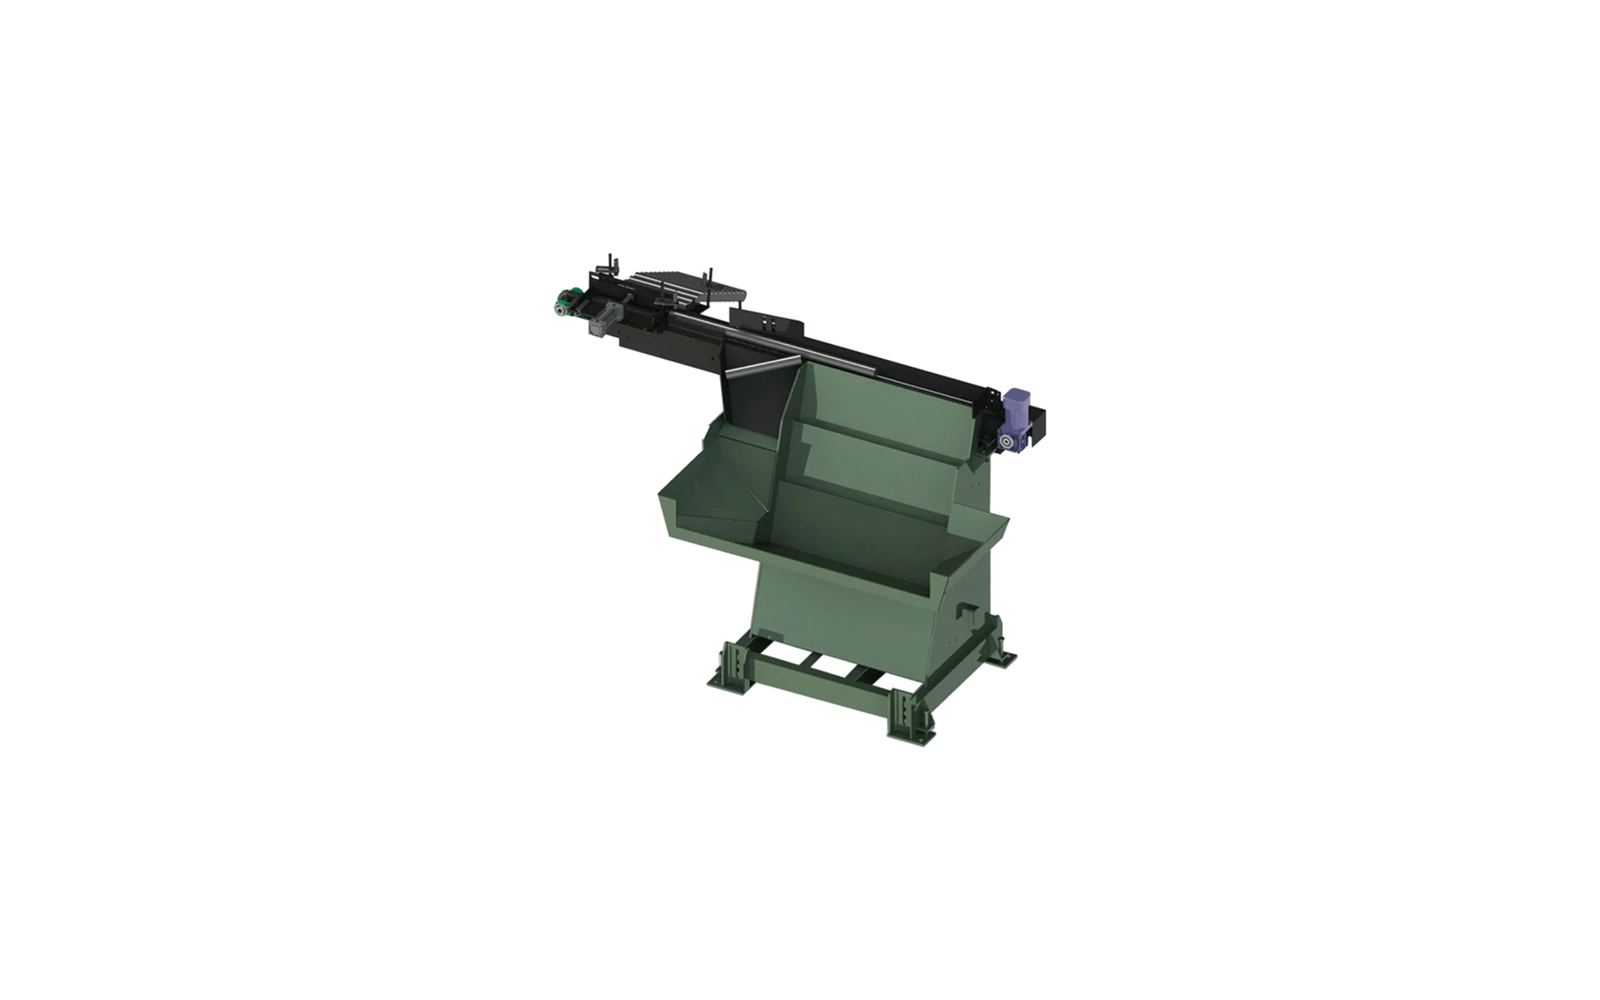
Your parts run on the machine type selected for your part family, with the feeder and camera configuration discussed in advance - the feeder is confirmed on your parts too, since feeding is the first thing that touches them (the options are compared in choosing the feeder (/posts/vision-inspection-machine-feeder-types)). The inspection applies the defect rules and acceptance thresholds you defined, at the machine's configured rate for your part size. During and after the run, every part's result is logged - the record-keeping layer described in vision inspection data traceability (/posts/vision-inspection-data-traceability) - so what comes back is not a summary sheet but per-part evidence.
After the Sample Test: What You Receive and Decide With
The sample test returns two things: the inspection images of your parts, and the decision log - which parts were judged OK, which NG, against which rules. With those in hand you can decide the questions that no brochure answers:
• Does the detection match your defect list, item by item - including the borderline cases?
• Does the false-reject behavior sit where your line can live with it?
• Does the logged record contain what your audits and complaint investigations need?
• Is the confirmed rate at your part size the one you planned around?
If a question fails, it is raised and the configuration is revisited before quotation - the published process is that the machine is configured to your quality standard before it ships, and the sample run is where that configuration gets its evidence.
What the Sample Test Is Not
An honest boundary: it is not a warranty of detection rates on future production, not a certification, and not a substitute for your process validation. What it does produce is a documented configuration - the one the quotation is built on - agreed against the evidence from your own parts. The figures that frame it (repeatability, throughput ranges with their conditions) are the machine's, per the brochure; your results are your own sample run.
Frequently Asked Questions
What do I need to send for a sample test?
Good parts, the worst defective parts you have, and borderline pieces - with a marked example per defect type and your acceptance thresholds. The full input list is in the quote preparation checklist (/posts/vision-inspection-machine-quote-checklist).
What do I get back?
The inspection images of your parts and the decision log - which parts were judged OK or NG against which rules - so the evaluation rests on your own parts' evidence.
What does the sample test cost - and who pays shipping?
Fees, shipping and sample return are confirmed per project when you inquire - state your terms in your first message and they are confirmed in writing before your parts move.
Can I ask for an NDA before sending samples?
Yes - state the confidentiality requirement in your first message and it is addressed before the parts move; the same applies to sample-return terms.
Can the sample test cover all my part numbers?
Parts within the same family and size band share a configuration; families far apart are tested separately. Bring the full part list and the test plan covers what makes sense per family, as discussed in the changeover guide (/posts/vision-inspection-machine-changeover).
Next Step
Assemble the package - good, bad and borderline parts, the marked defect list, your thresholds and your terms - and send it with your inquiry. The images and decision log that come back are the real answer to every "can it catch" question. Contact the team (/contact-us) - Monica (+86 138 5726 5705) or Arya (+86 173 2430 9735), or email monica@aivisioncheck.com.